Girl wears flip flops.
Girl moves to California.
Girl wears heels.
Boy proposes to Girl.
Girl says yes.
Boy goes to war.
Girl buys shoes.
Shoes.
Ooooooohhhhhh shoes.
One of my favorite trends in weddings right now is the bride's shoes. Rarely do I shoot a wedding (or see one for that matter) where the bride wears traditional white satin shoes. I love that brides have been picking shoes that go with their color schemes, or even that are completely different and unique to them. Sometimes they pick blue (for the something blue)... or just their favorite color.
I went looking for wedding shoes, thinking that I would pick purple. It is my favorite color... and a color I knew would show up in our wedding color scheme. But then I found sparkly, bling-y, perfection. In the form of Steve Madden.
Exhibit A:
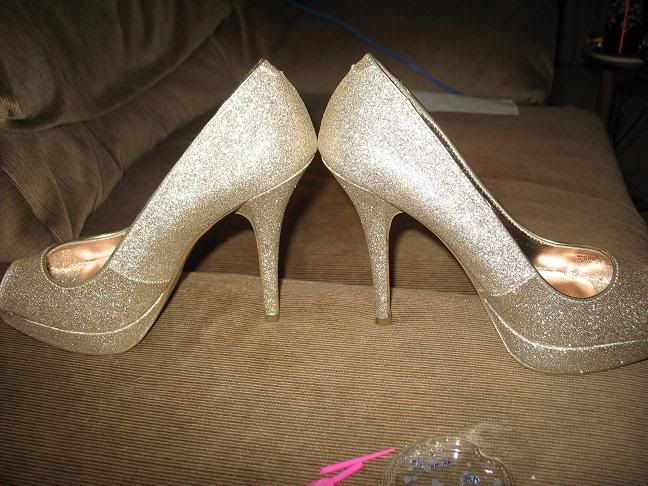
I put them on my feet and they were sooooo comfortable! I walked around the rest of the store in them... perusing through the other, not so shiny shoes. At the end of the last aisle, I looked at my mom without hesitation and said, "I'm getting these!" And off we went. We bought the shoes and took them home.
They have these beautiful gold soles on them. But they just needed a little something more... I have seen plenty of places that sell little rhinestone decals that say "I do" in blue:
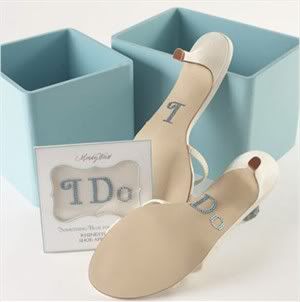
But I am not the "everyone's-doing-it" sort of girl. And I fully plan to wear these gold glitter shoes with my jeans and white t's after the wedding. So I wanted something a little different.
Have I mentioned I love hearts? Have you SEEN my logo? :)

And so, an idea was born. I knew I had some loose, blue Swarovski crystals hanging around somewhere (you never know when you might need some!). Luckily for me, we also had some great craft glue. And tweezers. And tape. And that was all I needed for my little DIY project :)
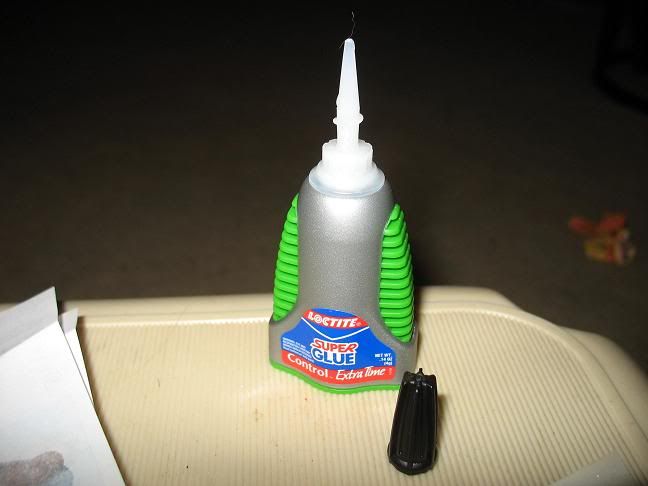
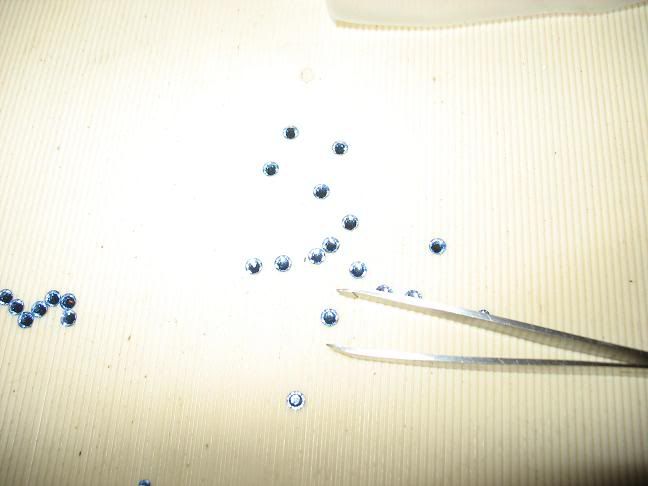
Here are step by step instructions on how I did this. It was easy. Seriously. And it can be so personalized! I would LOVE to hear your thoughts or see what you do with this (if anyone else uses it!)
Step 1: I arranged the crystals in the pattern I wanted them to appear. For my shoes I chose the heart from my logo. It's personal and cute. And I just moved the crystals around on my couch cushion (that's the weird brown background) until I got them how I wanted them.
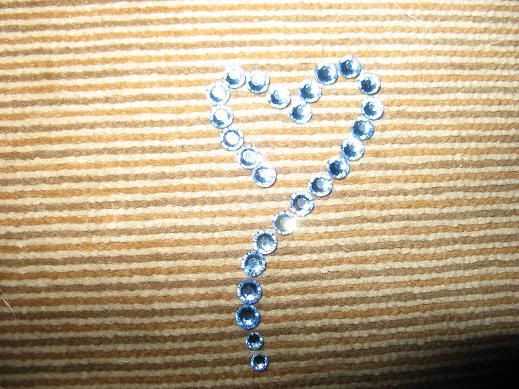
Step 2: I took regular scotch tape and put a couple of pieces together. Then I carefully laid it on top of the crystals that were arranged on my couch cushions. The tape stuck to the front of the crystals (the blue part) and this allowed me to pick them up together as a whole and flip them over so I had access to the back of the crystals.
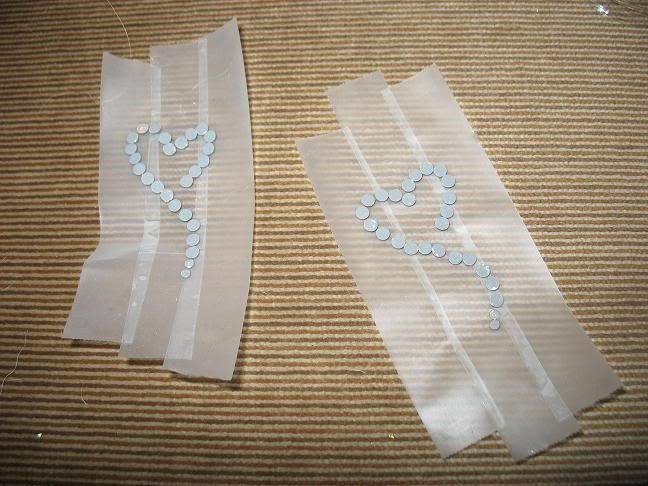
Step 3: I dropped a few drops of glue onto a paper and used a toothpick to carefully (and quickly!) brush glue on the back of each individual crystal. Make sure that there isn't TOO much glue on each of these crystals because if it oozes out, the tape will get stuck to the shoe also.
Step 4: Next, I laid the heart (still attached to the tape) on the bottom of the shoe, being careful to put it down where I wanted it to stick. The glue I used bonds almost instantly, so there isn't a lot of room for mistakes here.
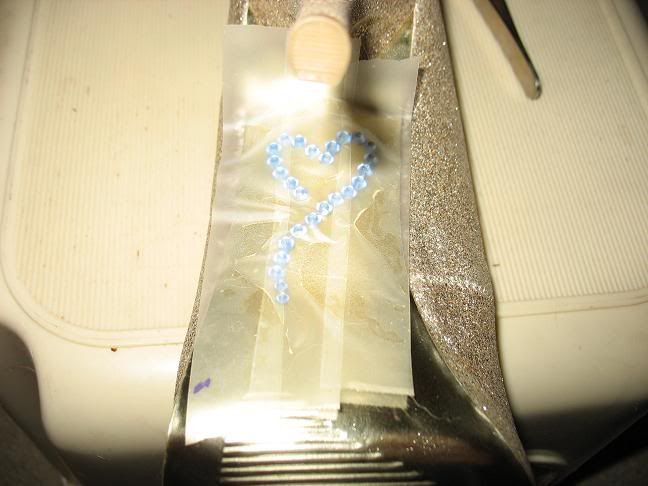
Step 5: Next, I let the glue dry for a few minutes. I wanted to be sure the crystals were on the shoe good and solidly.
Step 6: Slowly peel off the tape from the back of the shoe, making sure the crystals are sticking to the shoe.
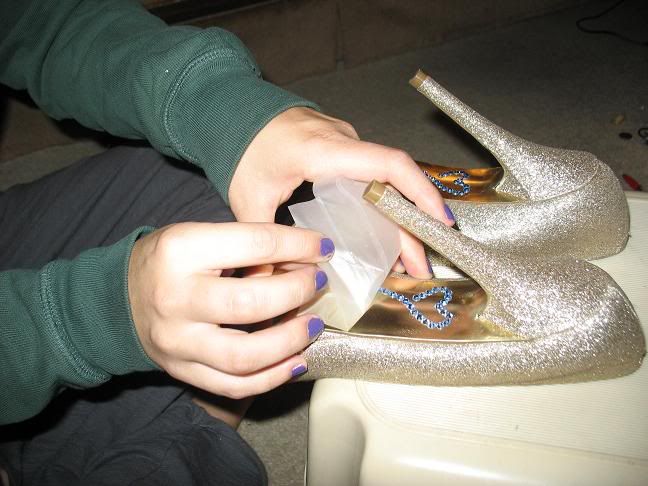
Step 7: Repeat on other shoe.
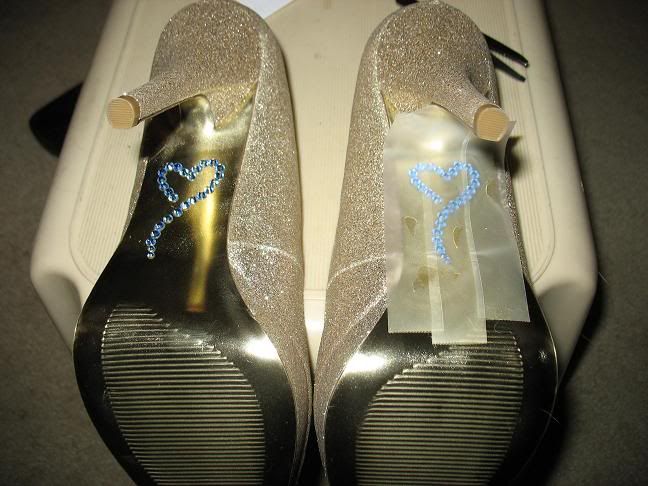
Here is the finished result:
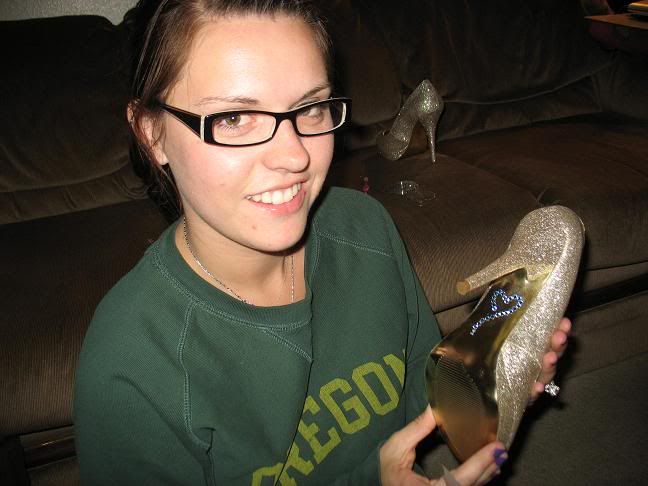
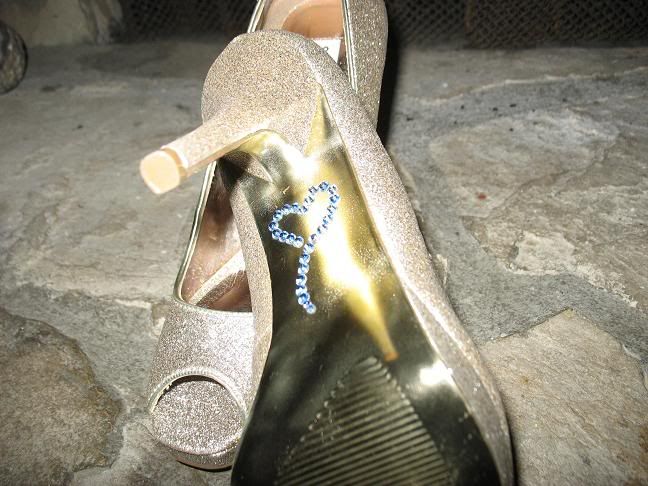
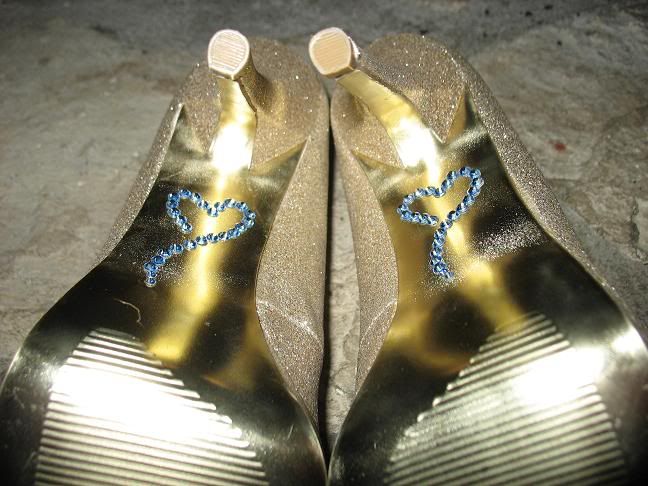

I think this idea is cute even if you aren't a bride! Definitely jazzes up a plain (or already fancy) pair of shoes!

No comments:
Post a Comment