Girl says yes.
Boy goes to war.
Girl plans a wedding
Girl saves money.
Girl gets crafty.
Girl makes bouquets.
I knew early on that I didn't want to use live flowers in our wedding. I wanted something different and unique. I knew that I wanted to do a lot of things myself and be crafty. I like to be crafty :) I also knew pretty early on that my bouquet would be made from brooches. I did not think that the girls bouquets would also... that would just be too much. But I wanted something that would go together.
When I was googling things and looking around online, I came across this picture:
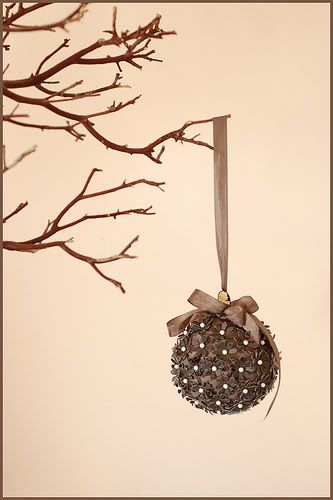
I decided I liked this idea, so I set out to try to recreate it. After several failed attempts at making something I really loved, I had success. And so I want to share a little DIY paper bridesmaid bouquet. As with all of the DIY projects I post, I'd love to see pictures if you do something similar! Or if you put a different twist on it! I love to see creativity!
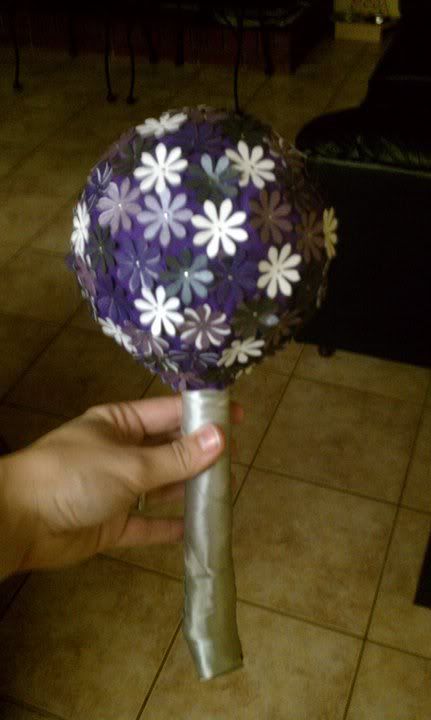
Here are step by step instructions to make one. If you need to make more than one, just make sure you get enough supplies and repeat the instructions!
Things you will need:
-Styrofoam ball (I used 5")
-2 foot by 2 foot piece of fabric (keep in mind color will show through a little)
-wooden dowel (mine was about 6 inches long)
-rubber band
-inch wide ribbon (about a foot and a half should be enough)
-Dress maker pins (or something similar. Could use pearl headed pins instead)
-flower hole punch
-super glue
-4 to 6 sheets of scrapbook paper in coordinating colors (It will depend on how close together you want the flowers and if you want a single layer or a double layer. I put mine pretty close together and doubled each flower)
Step 1:
Place Styrofoam ball in the middle of fabric square
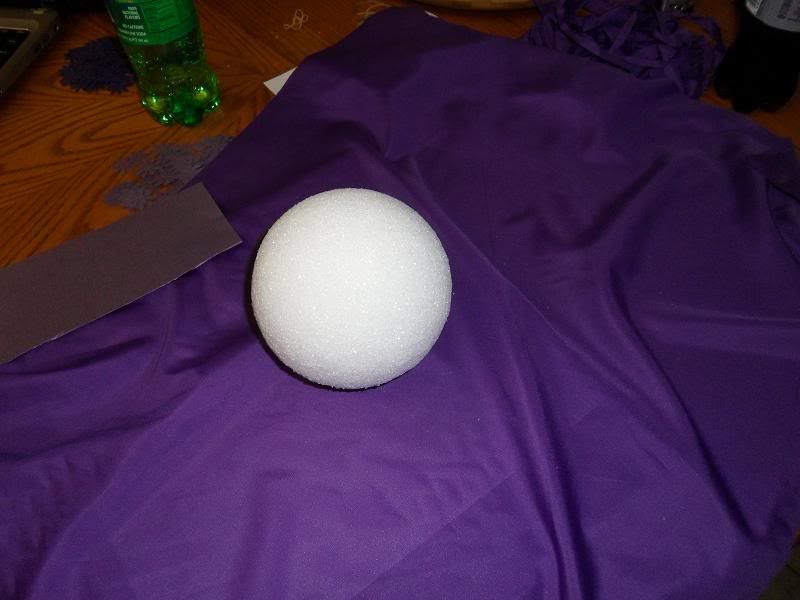
Step 2:
Fold fabric square in half diagonally over Styrofoam ball.
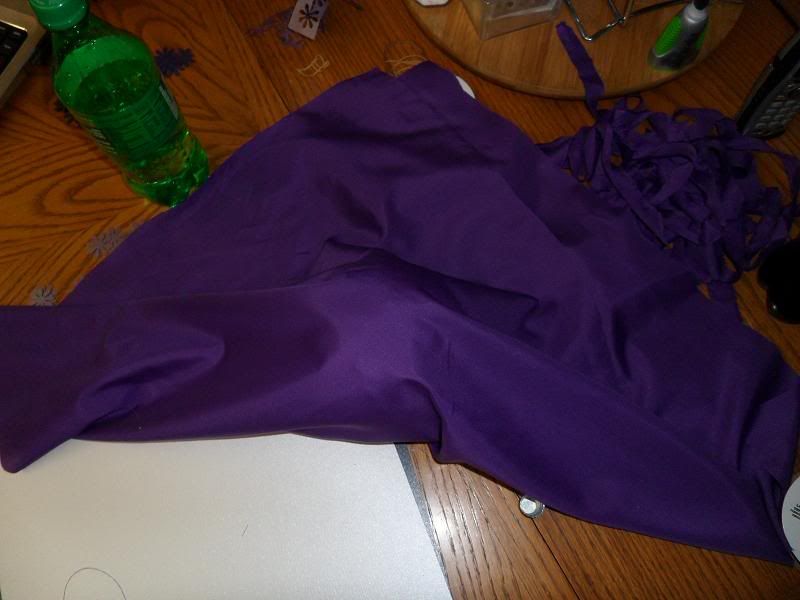
Step 3:
Pin fabric around ball leaving about a one inch space free.
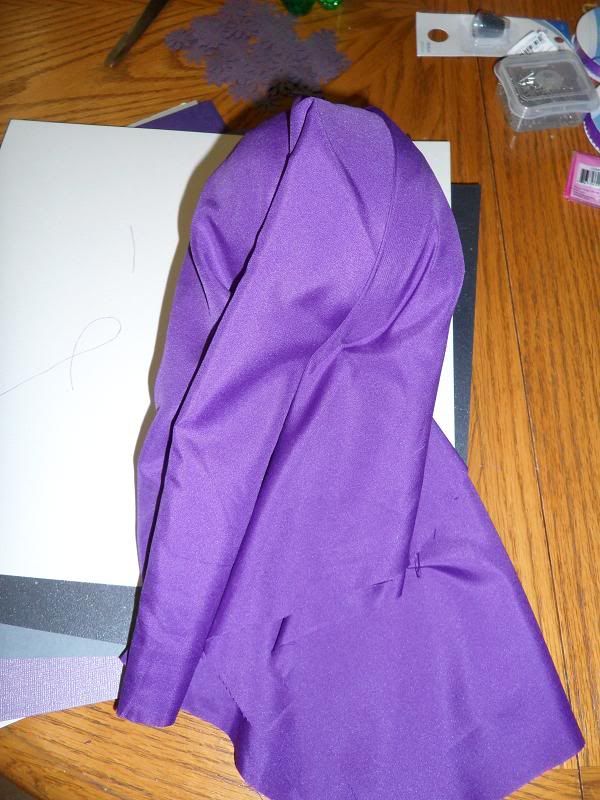
Step 4.
Place wooden dowel into ball. (the trick here is to poke a hole about an inch deep into the foam with the dowel. Then take the dowel out and put super glue in the hole. Place the dowel back in and hold it to let glue dry.
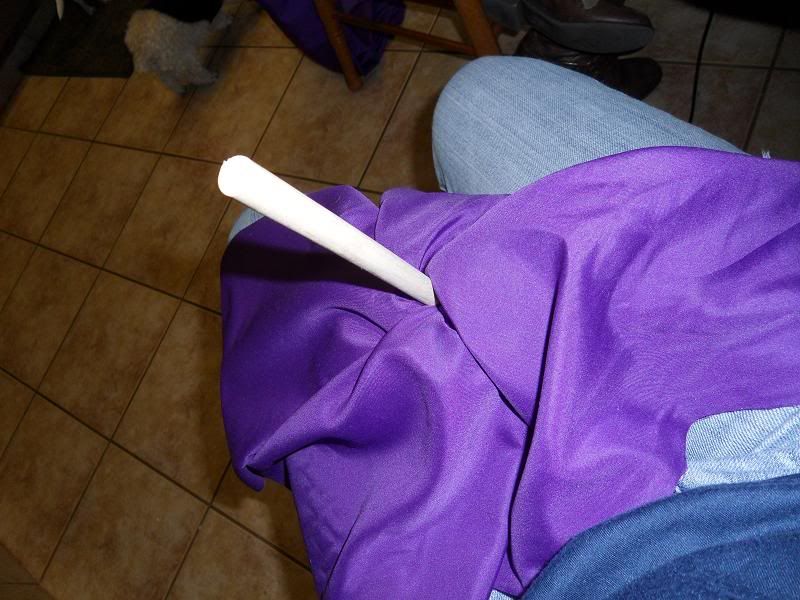
Step 5:
Finish pinning fabric tight around Styrofoam ball
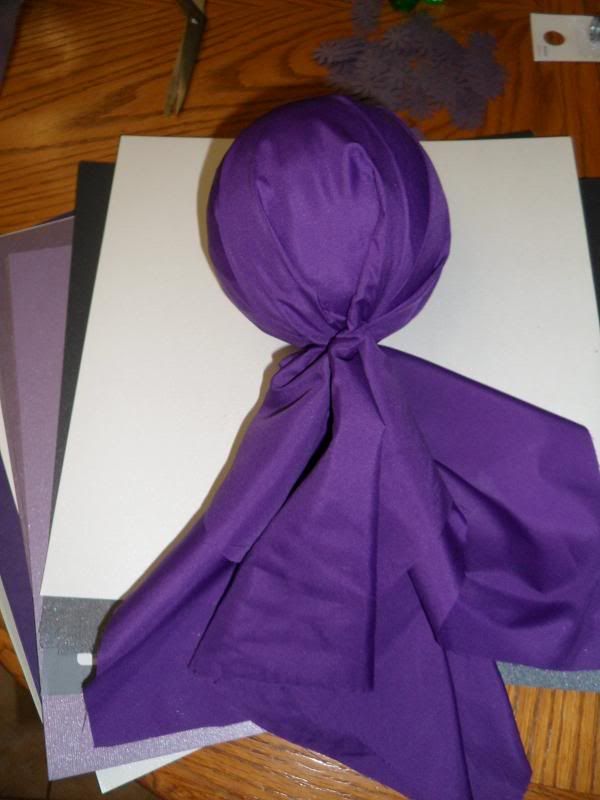
Step 6:
Rubber band the bottom of the fabric right under where the dowel ends.
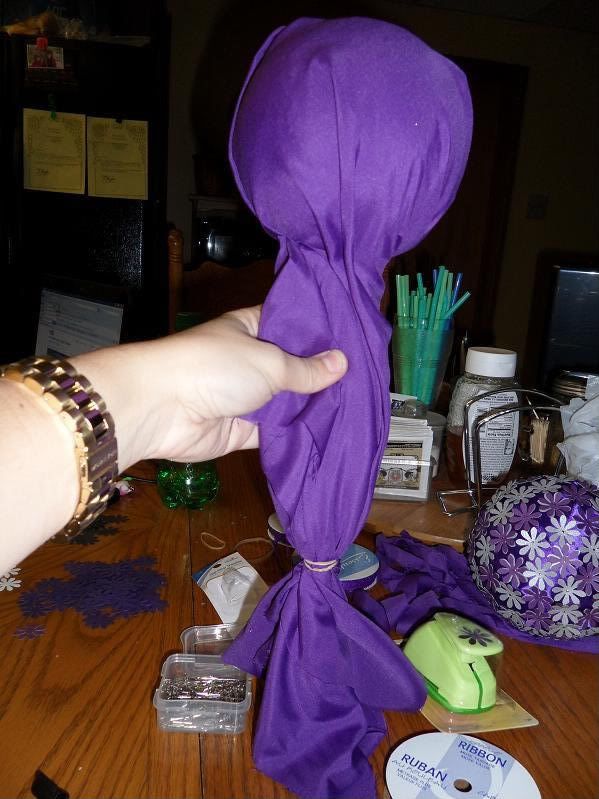
Step 7:
Tuck loose ends of fabric up and wrap ribbon around and around, covering the dowel and fabric. Make sure to keep the ribbon tight. This is what the girls will hold, so it is important that it is good and tight. Put a couple of dots of super glue at the end of the ribbon to keep it from coming unwound.
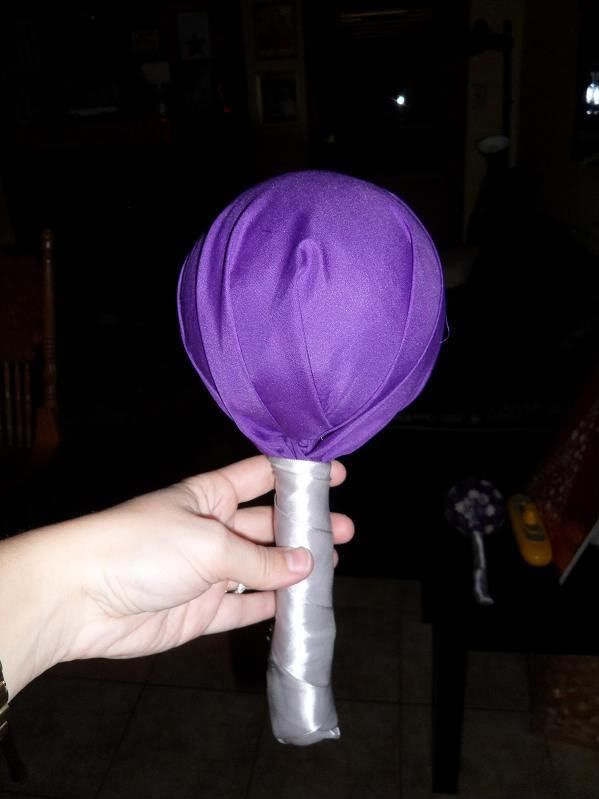
Step 8:
Use flower hole punch to punch different colors of scrapbook paper
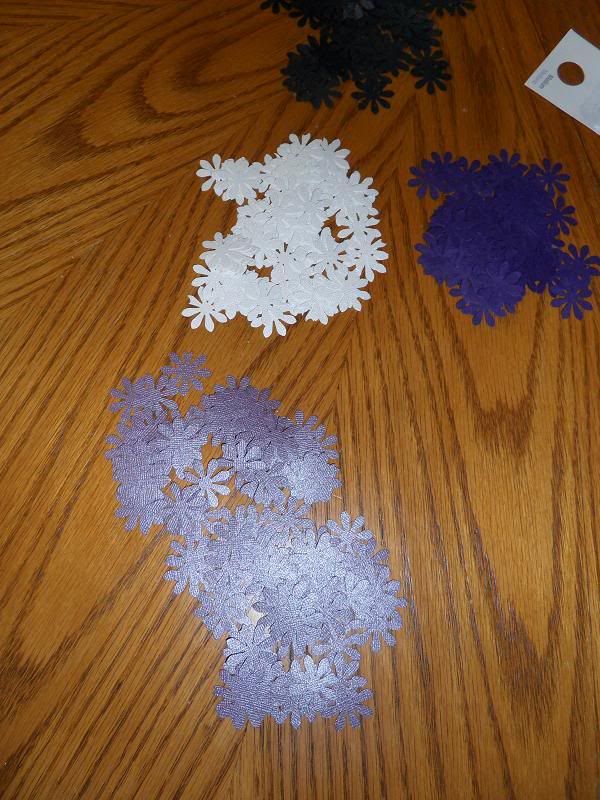
Step 9:
Pin flowers to ball with dressmaker pins. Turn up edges slightly to create texture and dimension. You can double up your flowers (either 2 of the same color or 2 different colors) to give it more dimension and color and texture. Pictured, I doubled up the flowers using 2 different colors.
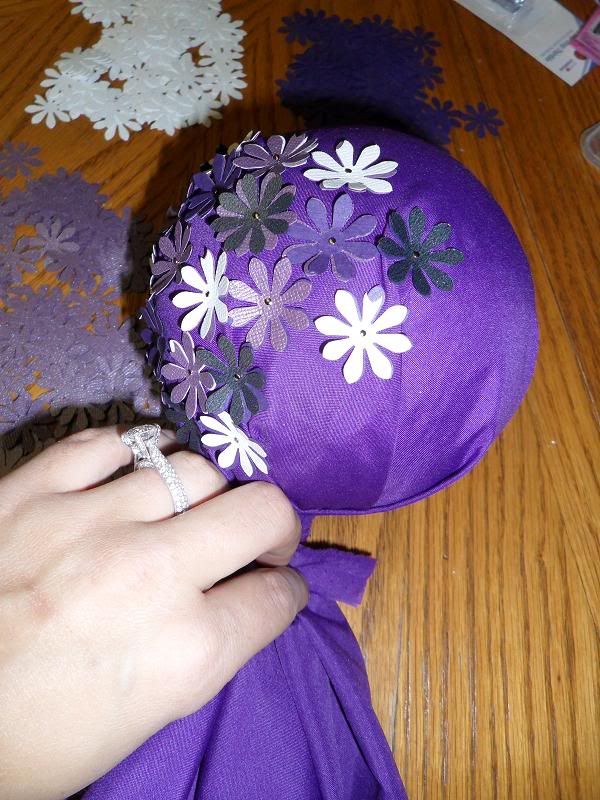
Step 10:
continue pinning flowers until the surface of the ball is covered. Make sure to pin down any fabric that may not be flat as you go. Use the flowers to disguise any problem places in the fabric.
Step 11 (optional):
Super glue rhinestones down the handle of the bouquet to acheive a little extra sparkle... And make it look like it has been pinned.
And that's it! It's pretty simple, but a bit time consuming. Each of my bridesmaids will be carrying one of these... and I think it will end up looking pretty cool!
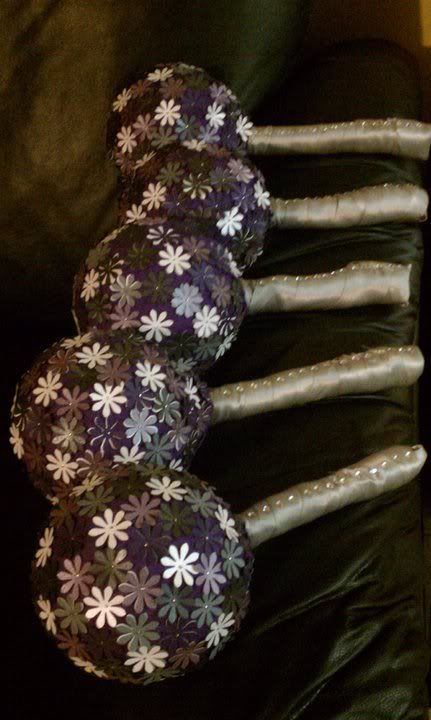

1 comment:
Thank you so much for posting this ! It is incredibly cool.
Post a Comment